
IATA Compliant Pet Travel Crates

HOW HANDY PET CARRIERS PLUS BEGAN…
Being a dog owner, I found it difficult to source IATA compliant plastic pet crates for transporting puppies to their new owners who live in different parts of South Africa. After a lot of thought and research, HPCP came into being.
New and better style of crates for Dog and Cats. IATA compliant.
THE AIM OF HANDY PET CARRIERS PLUS 
The aim is to supply IATA compliant pet crates that are of good quality,
sturdy, stylish and secure for international and local air transportation,
or for general crating needs.
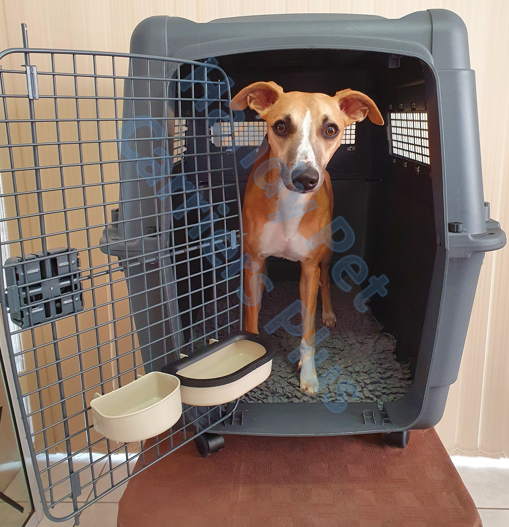
New Style of IATA compliant crates in stock.
Easier maneuverability when the wheels are attached, using the double handles. A new injection technology is used for the handles, making them smooth to the touch and stronger.
The side and back punched ventilation vents offer a unique and impressively appealing new look.
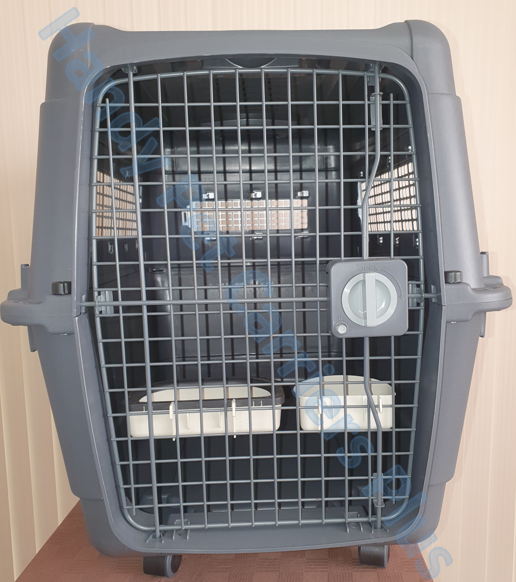
Gates all have the four way locking system which is added security and minimizes the accidental opening of the gate. The gate also has the ability to be locked.
Gates are slightly taller allowing easier loading and offloading of animals in and out of the crates. The taller gate also allows for extra ventilation.
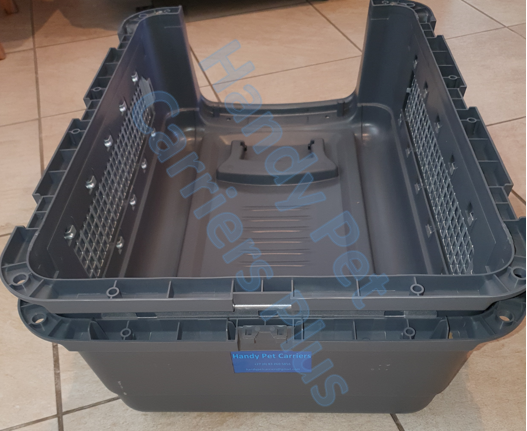
The corners of the crates have been reinforced for added strength, security and safety.
There are two bowls that clip onto the inside of the gate, one of which is slightly larger and has been fitted with a rim to prevent spillage.
The large sizes of crates come with wheels ( not to be used on aircrafts) which can be attached or removed as needed.
Live Animal stickers plus the information sticker are included.
Nuts and bolts plus lockable clips provide excellent security.
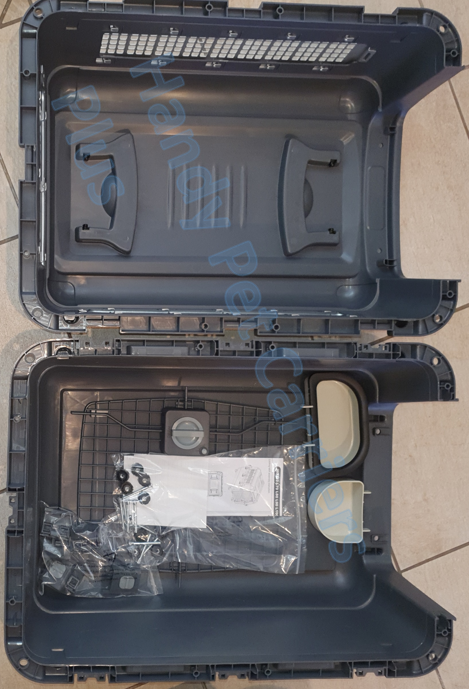
Assembly of the crates is simple and easy. To assemble:
- Place the top section onto the bottom section
- Fit the gate into the designated slots in the bottom half and the top half
- Insert the bolts in the designated hole from the bottom and connect the nuts on the top of the bolt.
- Lastly fit the clips and lock them – there is a video showing how these are fitted.